Key takeaways
- Detection starts with information — your symptoms and the plumbing layout — before any equipment comes out.
- Common tools include pressure testing, acoustic listening, electronic detection, and thermal imaging. Each has strengths and limits.
- The methods used depend on the suspected leak, the pipe material, and the conditions in your home.
Finding a leak beneath several inches of concrete without opening the floor sounds almost impossible. In practice, it is a process of narrowing down: confirming that a leak exists, figuring out which line it is on, and then pinpointing where along that line the water is escaping. Here is how that process usually works and what each step can tell you.
Step 1: Reviewing the symptoms
A good assessment begins with questions. When did you notice the problem? Is the floor warm or damp? Where? Has your water bill changed? Does the meter move when everything is off? Has there been recent plumbing work? The answers help a technician decide whether a slab leak is likely and which line — hot, cold, or drain — is most suspect.
It helps to have your recent water bills, photos of any damp areas, and a rough idea of where your plumbing fixtures and water heater are. Our guide to what to expect during a slab leak inspection has a full checklist.
Step 2: Evaluating the plumbing system
Next comes a look at the system itself: the main shutoff, the water heater, visible supply lines, fixtures, and irrigation connections. Simple leaks — a running toilet, a dripping valve — are ruled out early. The technician may check the water meter's low-flow indicator, which, as utility guidance explains, can register even small flows.
Step 3: Isolating the line
If a hidden supply leak is suspected, the next goal is to determine which part of the system is losing water. A common approach is a pressure test: sections of the plumbing are isolated and a gauge shows whether pressure drops over time. The EPA's WaterSense technical guidance describes a basic version — attaching a gauge, shutting off the main valve, and checking that pressure remains constant for 5 to 10 minutes; a drop indicates a leak. Isolating hot and cold sides separately helps identify which line is affected.
Step 4: Locating the leak
Once the affected line is identified, the technician works to pinpoint the leak location. This is where specialized equipment comes in. Several approaches are common in the industry:
Acoustic leak detection
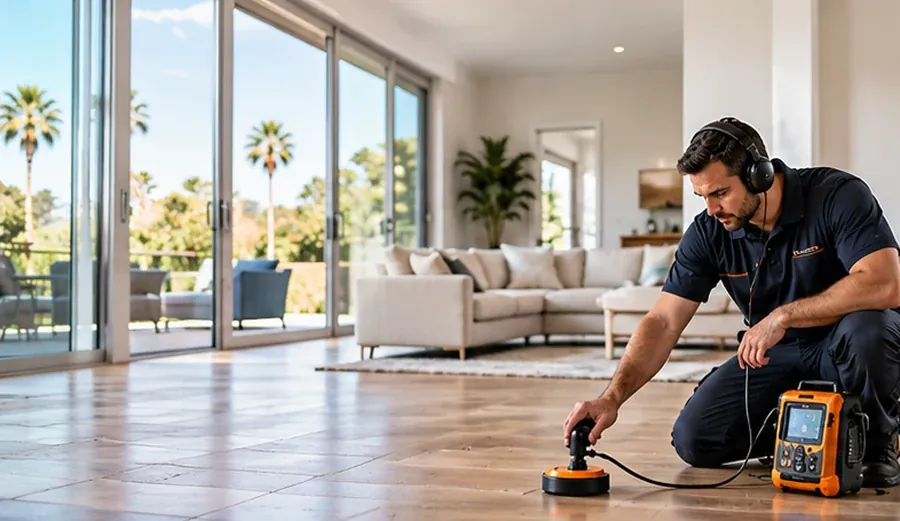
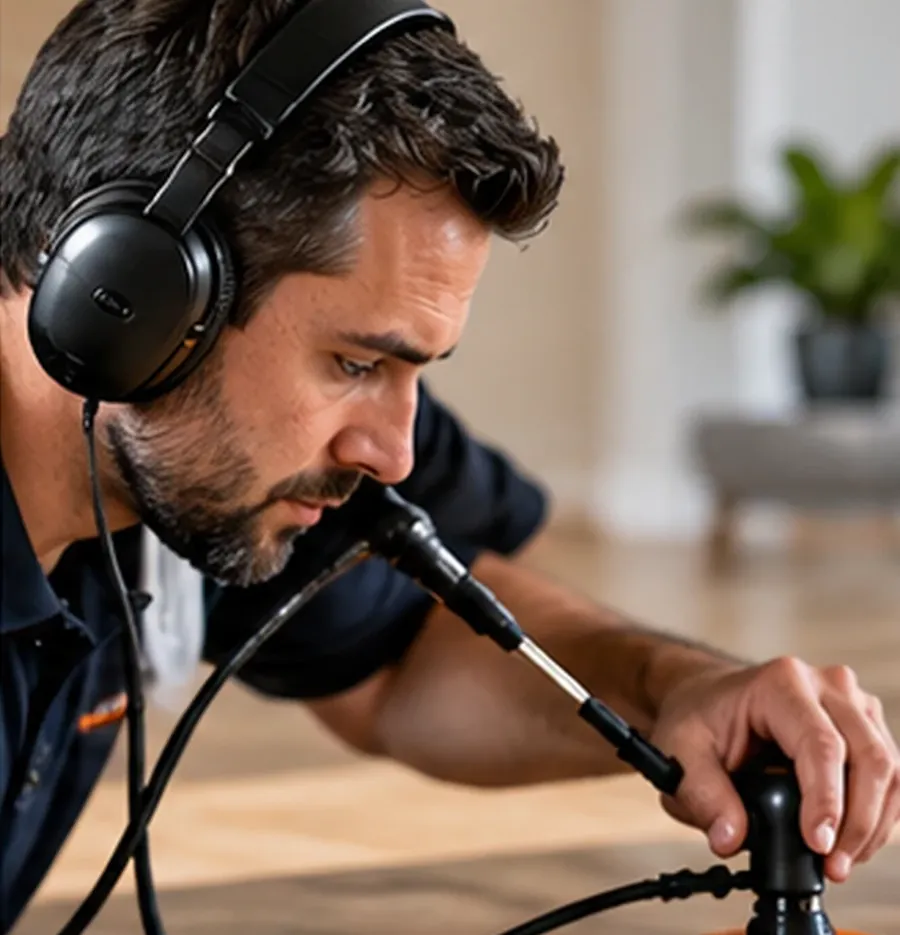
Water escaping a pressurized pipe creates vibration and sound. Acoustic equipment — ground microphones, contact sensors, and amplifiers — lets a trained listener follow that sound and find where it is loudest. The Southwest Florida Water Management District, describing utility leak detection, explains that pressure forces water through a breach and sends vibrations along the pipe, and that pipe material affects how far that sound travels: dense metals like copper carry it well, while plastic pipe absorbs it more quickly.
That is a key limitation. Background noise, flooring type, pipe depth, and pipe material all affect how clearly a leak can be heard. Learn more about our acoustic leak detection service.
Electronic leak detection
Electronic detectors amplify and filter leak signals so the technician can distinguish leak noise from household background noise, and often display signal strength visually to help compare readings at different points. Some approaches also use electronic line tracing to map where a pipe actually runs beneath the floor — which matters, because pipes rarely follow the path you would expect. See our electronic leak detection page.
Thermal imaging
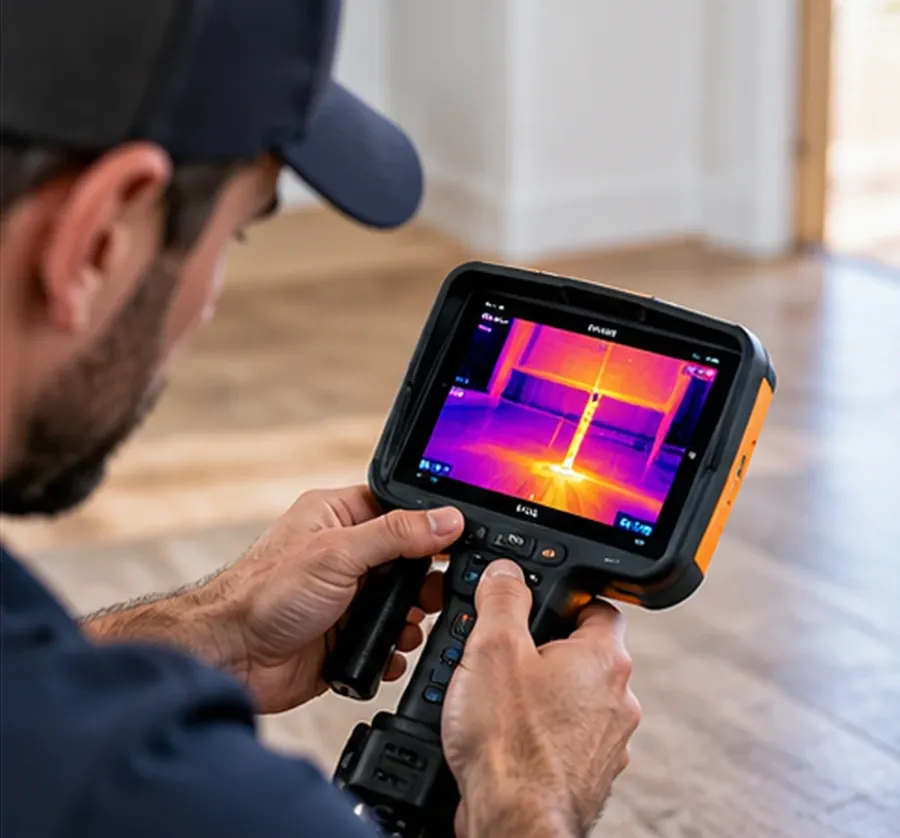
Infrared cameras show surface temperature differences. A hot-water leak may appear as a warm pattern on the floor; evaporating moisture can appear cooler. Thermal imaging is useful for scanning large areas quickly, but it does not "see" water. Teledyne FLIR, a thermal camera manufacturer, notes that a pattern that looks like moisture does not guarantee water is present and recommends confirming with a moisture meter. It also works best on hot-water lines.
Moisture readings
Moisture meters measure the moisture content of flooring, baseboards, and walls. They are valuable for confirming that an area is actually wet and for mapping how far moisture has spread, but they cannot by themselves locate the source.
Tracer gas
Some specialists use a safe tracer gas introduced into a drained line and a sensitive detector to find where it escapes. This method is used in specific situations, such as when acoustic methods are limited. Ask your provider whether it is part of their toolkit and whether it suits your case.
Step 5: Confirming and communicating findings
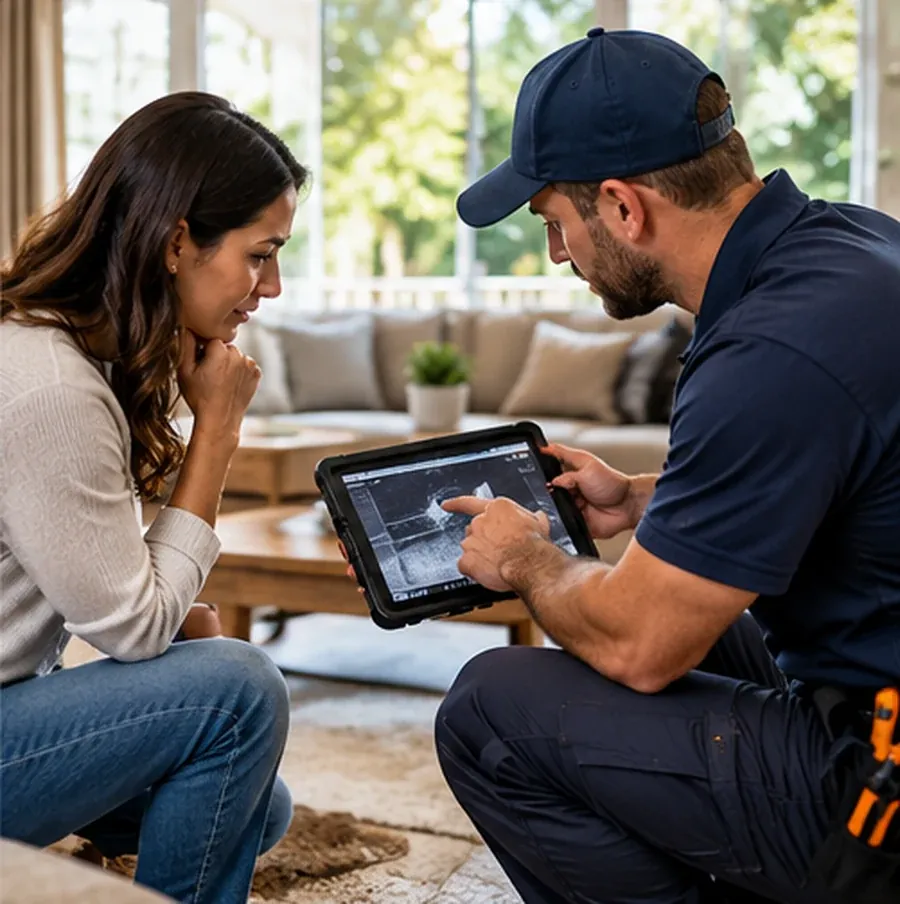
Good detection does not end with "the leak is about here." It ends with a clear explanation: which line is leaking, where the likely leak area is, how confident the technician is, what evidence supports the conclusion, and what the next options are. Many technicians mark the suspected location on the floor so a repair contractor can work from it.
It is reasonable to ask questions such as: How did you narrow it down? Did more than one method agree? What could make the location less certain? Clear answers help you make a better repair decision.
Why the approach varies from job to job
| Factor | How it affects detection |
|---|---|
| Pipe material | Metal pipe carries leak sound farther than plastic, which affects acoustic methods. |
| Hot vs. cold line | Hot-water leaks can show on thermal imaging; cold-water leaks usually do not. |
| Flooring | Tile, carpet, wood, and padding transmit sound and heat differently. |
| Background noise | Appliances, traffic, and HVAC can mask faint leak sounds. |
| Leak size | Very small leaks can be harder to hear; larger leaks may produce clearer signals. |
| Pipe routing | Lines may not run where you would expect, so tracing the route can be essential. |
Detection is not the same as repair
Leak detection answers where. Repair answers what to do about it — spot repair, rerouting, or replacement — and is often a separate service. Read slab leak detection vs. repair to understand the difference, and what affects slab leak detection cost if you are planning ahead.
The bottom line
Professional slab leak detection is a step-by-step narrowing process: understand the symptoms, confirm a leak, isolate the line, then use the right combination of tools to locate it. No single tool works in every home, which is why experience and cross-checking matter. If you are seeing the signs, a leak location and diagnostic assessment can give you a clear, evidence-based picture before any floor is opened.
Concerned about a possible slab leak in Whittier? Call Precision Slab Leak Detection at (562) 358-3136 to talk through what you are noticing and how an assessment would work for your property.
Frequently Asked Questions
Detection itself is designed to be non-invasive: the goal is to narrow down the leak area from the surface first. Accessing the pipe to repair it is a separate step that usually does require opening the floor or rerouting the line, and that decision is made after the leak is located.
Accuracy depends on the pipe material, depth, background noise, flooring, and the size of the leak. Professionals often combine methods to cross-check results. No method can guarantee a precise location in every situation, and a good technician will explain the level of confidence in their findings.
No. The methods are chosen based on the symptoms, the plumbing system, and the conditions in the home. A simple case may need only a pressure check and acoustic listening; a complex one may need several approaches.
Drain leaks behave differently because drain lines are not under constant pressure. They are often investigated with different methods, such as camera inspection or drain-specific testing. Ask what type of line is suspected and which methods suit it.
It varies with the size and layout of the property, how accessible the plumbing is, and how many methods are needed. Your technician can give you a better idea once they understand the symptoms.
Sources
- Southwest Florida Water Management District, WaterMatters. With One Ear to the Ground (November 22, 2019).
- Teledyne FLIR. How To Detect a Water Leak with Thermal Imaging.
- U.S. Environmental Protection Agency. Free of Leaks — Technical Reference Manual for WaterSense Labeled Homes (EPA-832-F-23-016, July 2023).
- City of Hayward, California. How to Read Your Water Meter.
This article is general educational information, not a diagnosis of any specific property or professional plumbing, legal, insurance, or health advice. Conditions vary; consult qualified professionals for your situation.